
Troubleshooting Battery-Powered Transfer Cart Charger Fuse Blowing
This article explains the common causes of charger fuse failure in battery-powered transfer carts, including internal short circuits, voltage surges, wiring problems, deeply discharged batteries, and excessive charging current. It provides a practical troubleshooting procedure covering visual inspection, multimeter testing, capacitor and switching component checks, and controlled power-on testing. The article also highlights daily maintenance practices, such as keeping chargers dry and ventilated, protecting against power fluctuations, and checking charging connections to improve charger reliability and ensure safe, stable transfer cart operation.
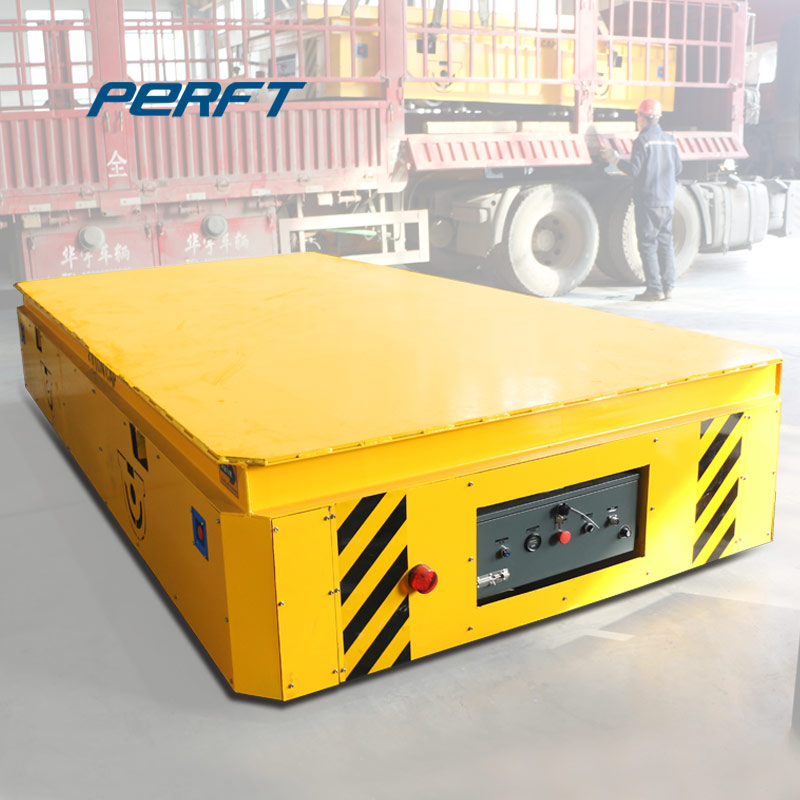
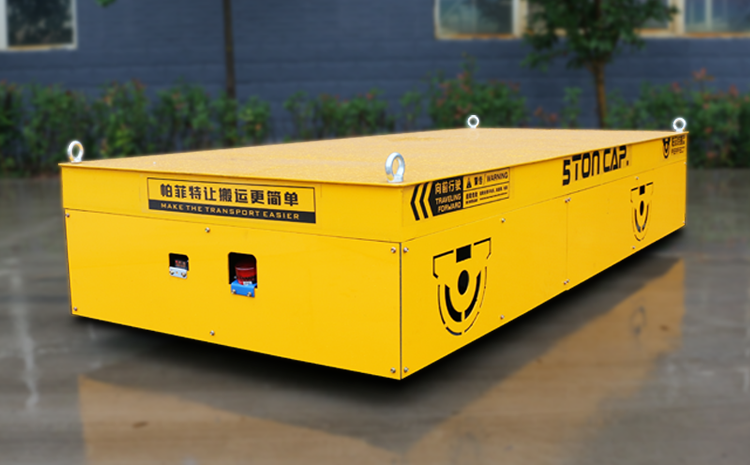
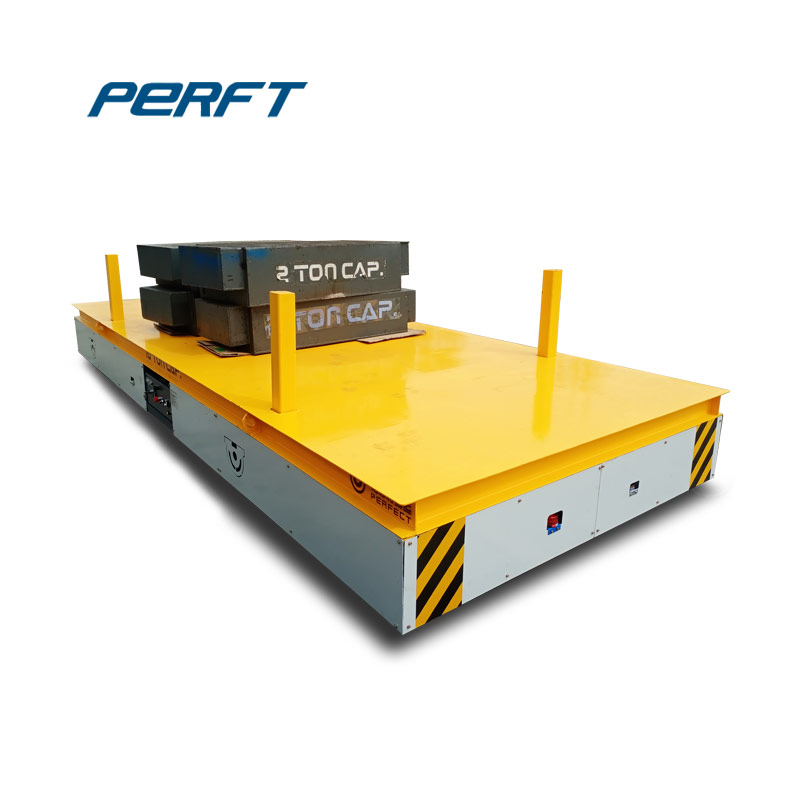
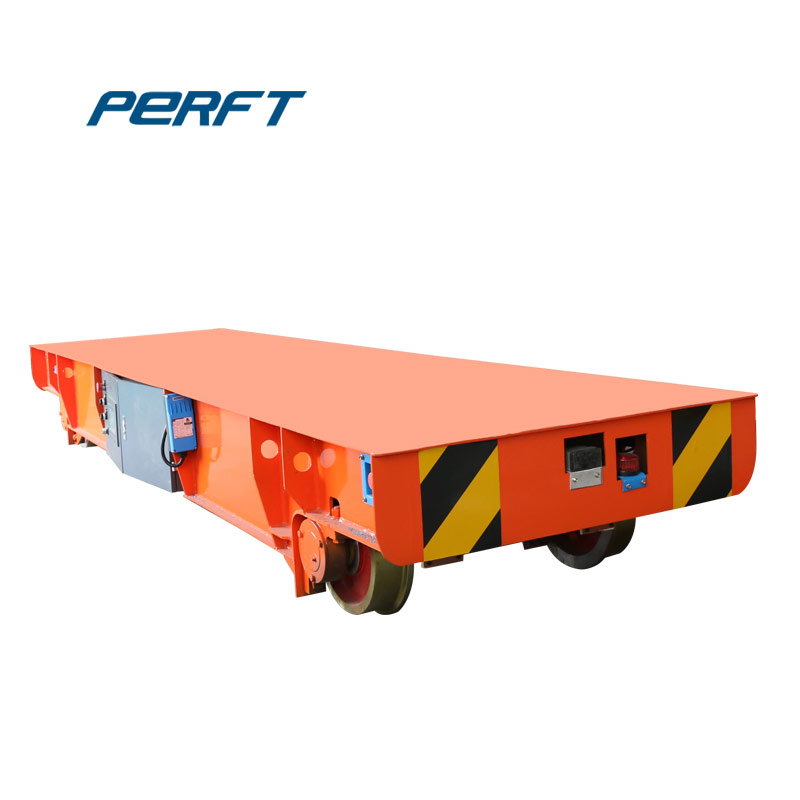
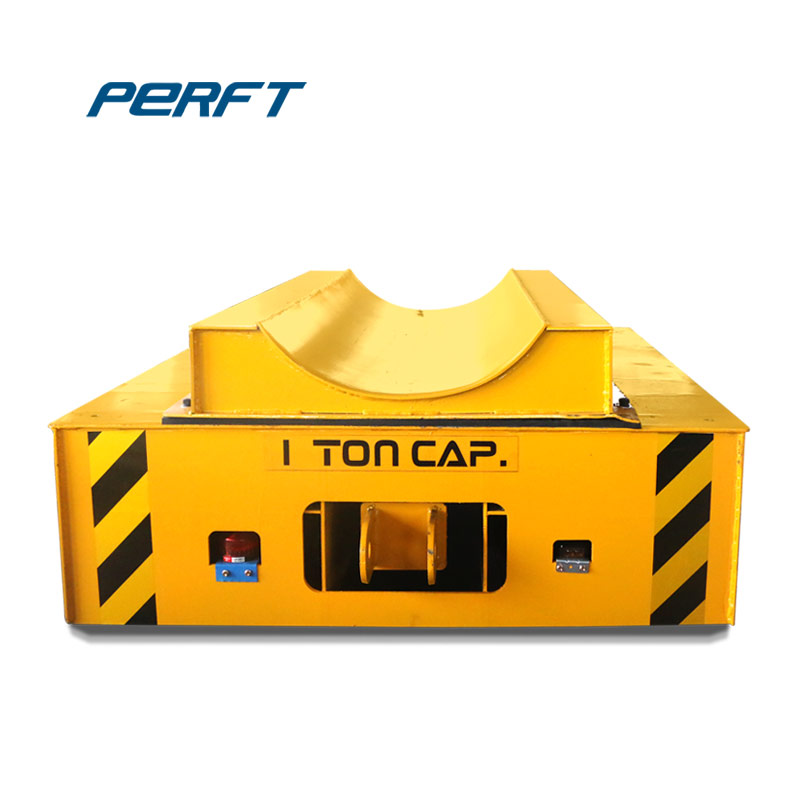
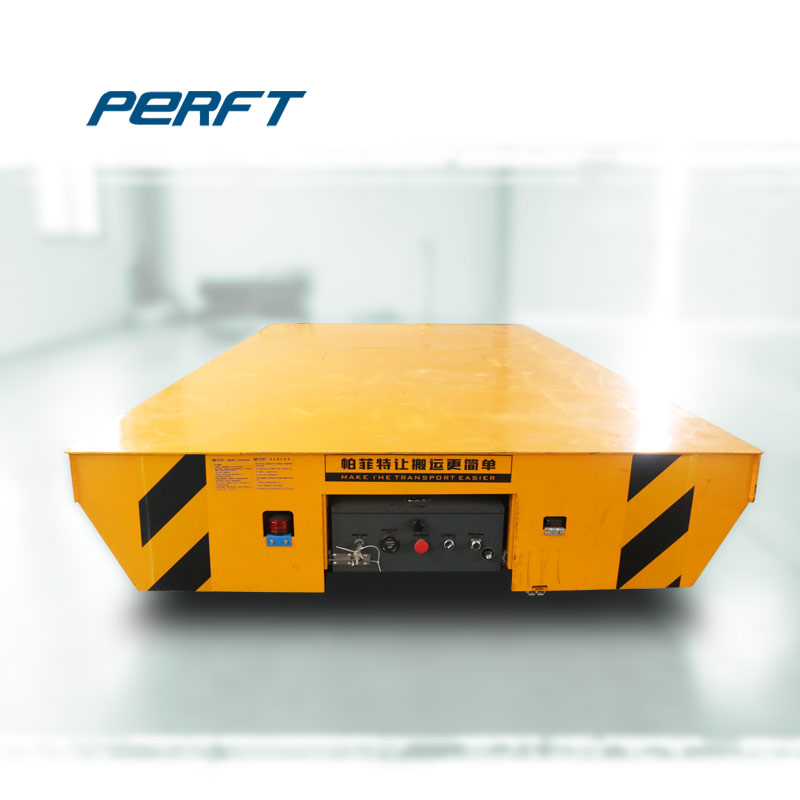
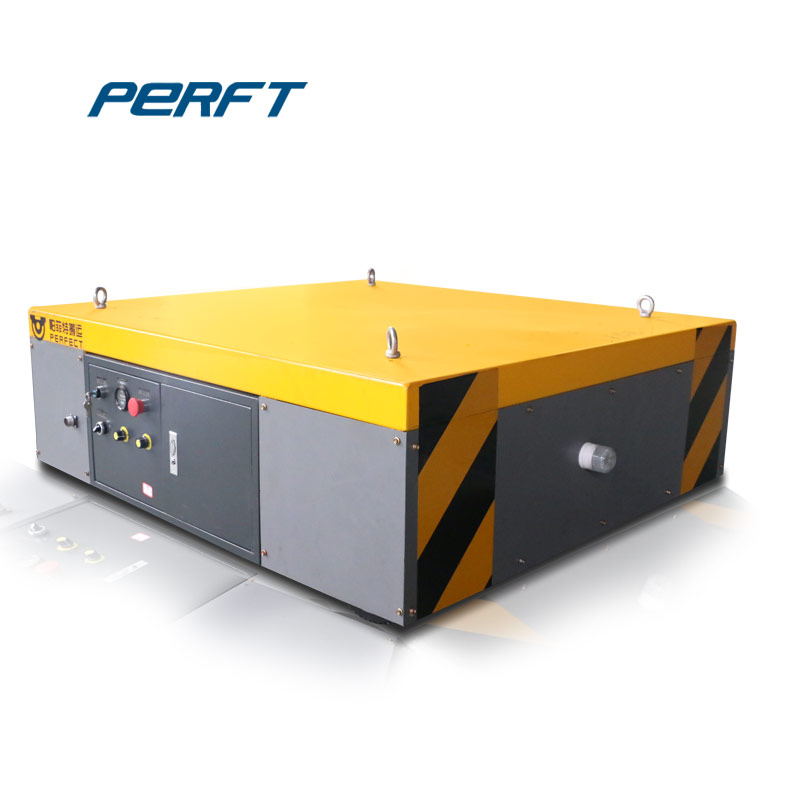
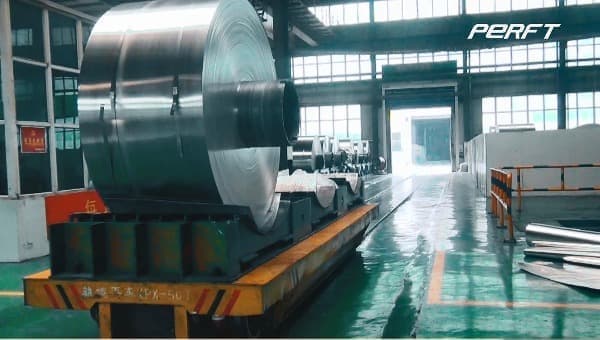
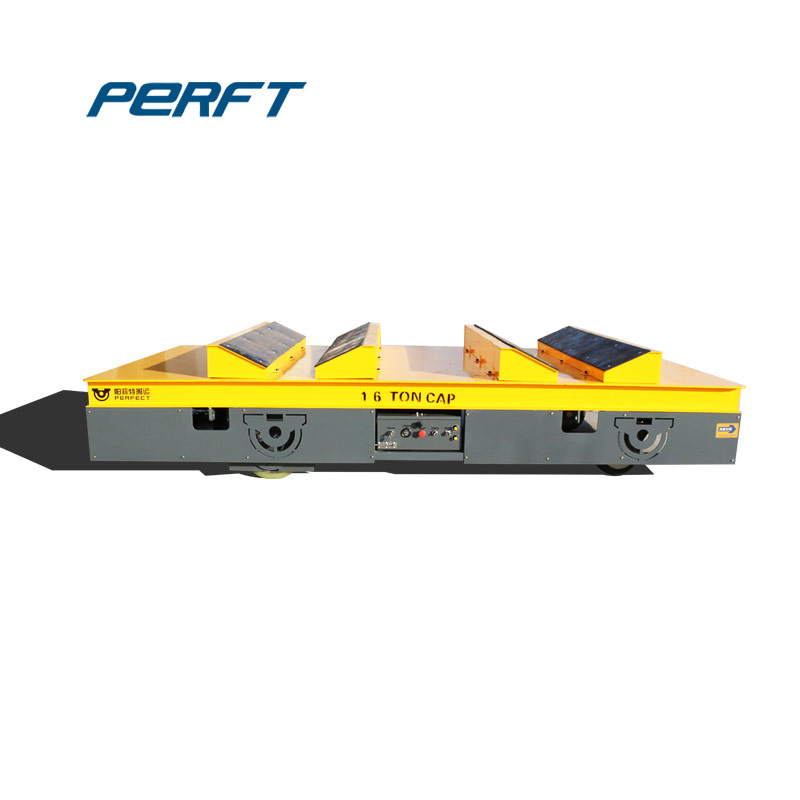
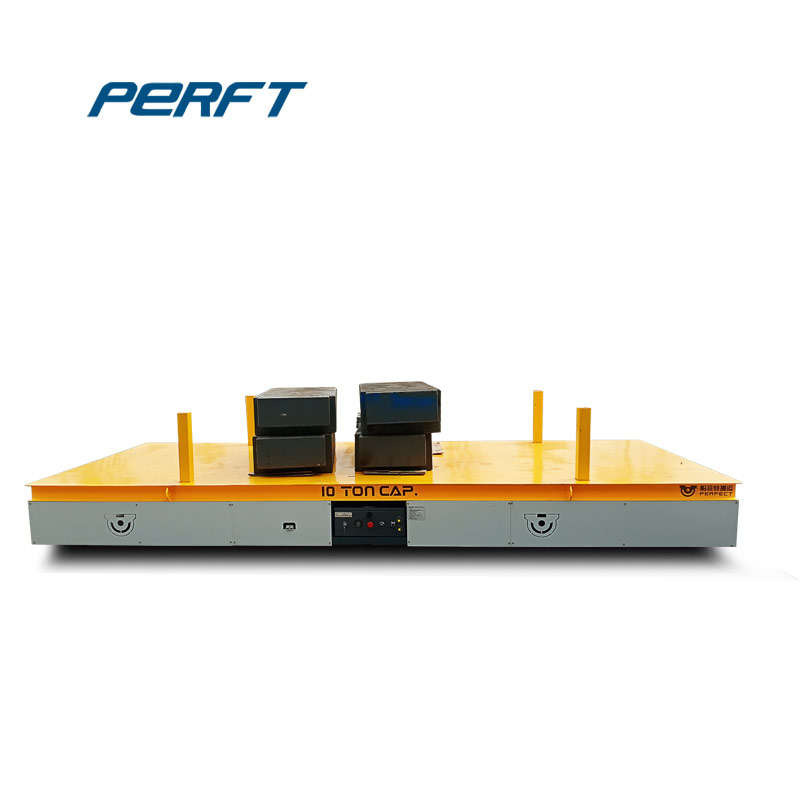
After battery-powered electric transfer cart operates under heavy load for an extended period, the battery may become deeply discharged. During the subsequent charging process, the electrical load of the entire charging system can increase significantly.
Original factory chargers are normally equipped with dedicated internal fuses as the first line of electrical protection. When abnormal overcurrent occurs, the fuse blows first to protect the charger circuit board, power components, and battery from serious damage.
However, when operators find that the charger fuse has blown, they often replace it with a new fuse and immediately restore power. If the new fuse blows again as soon as the charger is switched on, this indicates that there may be an underlying electrical fault inside the charger or in the external charging circuit.
Repeated fuse blowing should never be treated as a simple fuse replacement issue. The root cause must be identified before the charger is returned to service.
Main Causes of Charger Fuse Failure
Internal Short Circuit
A short circuit inside the charger is one of the most common reasons for a blown fuse.
Electronic components may deteriorate due to long-term operation, moisture, dust accumulation, or high-temperature conditions. When a component becomes electrically damaged or breaks down, it may create a direct short circuit. The resulting high current can cause the fuse to blow almost instantly.
Grid Voltage Fluctuation and Instantaneous Surge
Industrial workshops often operate large motors, cranes, welding machines, furnaces, and other high-power equipment. When these machines start or stop, they can cause fluctuations in the factory power supply.
A sudden voltage surge can enter the charger and generate an instantaneous current spike. If the surge exceeds the fuse’s rated capacity, the fuse may blow to protect the internal charging circuit.
External Wiring Problems
Problems outside the charger can also cause the fuse to blow.
Common examples include:
- Loose charging plugs or terminals
- Damaged or exposed cables
- Incorrect battery polarity
- Poor electrical connections
- A severely discharged battery
- Excessive charging current at startup
These problems can create an abnormal current condition when the charger is connected to the battery.
Important Safety Warning
Never install a fuse with a higher rating simply to prevent repeated fuse blowing.
A larger fuse may eliminate the immediate symptom, but it also removes an important layer of electrical protection. If the underlying fault remains, excessive current may damage the circuit board, power components, or battery and, in severe cases, create a fire hazard.
The replacement fuse should always match the original specified rating and type.
Complete Troubleshooting and Repair Procedure
All inspection and repair work should be performed with the charger disconnected from the power supply and by qualified personnel familiar with electrical equipment.
Step 1: Perform a Visual Inspection
Open the charger housing and carefully inspect the circuit board and major electrical components.
Look for:
- Burn marks or blackened components
- Swollen capacitors
- Electrolyte leakage
- Cracked components
- Damaged wires or terminals
- Loose connections
- Signs of overheating
- A noticeable burnt smell
These visible signs can help technicians quickly identify the area where the electrical fault may have occurred.
Step 2: Measure Key Components with a Multimeter
After confirming that the charger is completely de-energized, use an appropriate multimeter to check critical circuit components.
First, measure the resistance across the power input terminals to determine whether an obvious short circuit exists on the input side.
Next, check the rectifier diodes individually in both forward and reverse directions. Abnormal resistance readings may indicate that a diode has been damaged or shorted.
The current-limiting resistors on the circuit board should also be inspected. A burned-out resistor or a resistance value significantly different from its rated value may indicate overheating or another internal circuit problem.
Step 3: Inspect the Filter Capacitor and Power Switching Components
The power filter capacitor should be checked to determine whether its charging and discharging characteristics remain normal.
Special attention should be given to the power switching devices. A shorted or damaged switching transistor can be a major cause of repeated fuse failures because it may create a direct high-current path through the charger.
If the switching component has failed, technicians should also inspect related components before replacement to determine whether the failure was caused by another problem in the circuit.
Step 4: Perform a Controlled Power-On Test After Repair
After damaged components have been replaced, technicians should verify that the circuit is free from short circuits and that all connections are correct.
Only then should the original specified fuse be installed.
The charger should first be powered on without connecting the battery. Check whether the indicator lights and basic charging functions operate normally.
If the charger passes the no-load test, connect it to the battery and perform a controlled charging test while monitoring the charging current, voltage, temperature, and overall operating condition.
Daily Maintenance and Prevention
Preventive maintenance can significantly reduce charger failures and extend the service life of the electrical system.
Keep the Charger Dry and Well Ventilated
Place the charger in a dry, clean, and well-ventilated area. Avoid exposing it to excessive dust, water, humidity, or high temperatures.
For industrial workshops with significant dust or moisture, additional protection may be required.
Reduce the Impact of Power Fluctuations
If the factory power supply experiences frequent voltage fluctuations or electrical surges, appropriate voltage stabilization or surge protection equipment can help reduce the impact on the charger.
The electrical environment should be considered when selecting the charging system for a heavy-duty battery-powered transfer cart.
Check the Charging Connection Before Every Charge
Before connecting the charger, inspect the charging plug, socket, cable, and terminals.
Make sure:
- The connector is securely connected
- The cable insulation is intact
- There are no exposed conductors
- The polarity is correct
- The terminals are clean
- There are no signs of overheating
These simple checks can prevent many external wiring problems from developing into charger failures.
A blown fuse on a battery-powered electric transfer cart charger is not necessarily the root problem. In many cases, the fuse is simply performing its intended protective function by disconnecting the circuit when abnormal current occurs.
If the fuse repeatedly blows immediately after replacement, operators should stop repeatedly changing fuses and investigate the charger, battery, cables, connectors, power supply, and related electrical components.
For heavy-duty transfer carts that operate under frequent loading and long working cycles, a reliable charging system and proper electrical maintenance are essential for stable operation.
If you experience charger fuse failure, abnormal charging, battery power loss, or other electrical problems with your battery-powered transfer cart, contact a professional transfer cart manufacturer or qualified electrical technician for technical inspection and maintenance guidance.